拉取镜像 和 启动
|
或者
mkdir /data/docker_bind |
至此, dns 服务已经安装和启动好了 .
设置 DNS
浏览器打开 https://172.17.0.1:10000/使用 root/SecretPassword 登录.
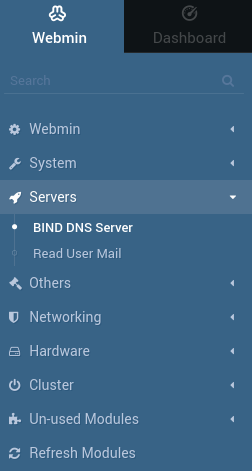
选择左侧栏的 Servers -> BIND DNS Server.
初始化 rndc
首先需要点击 setup rndc 进行初始化, 否则会出现 NDC command failed : rndc: /etc/bind/rndc.conf does not exist 的错误, 点击后会有 rndc 的介绍:
This page can be used to setup BIND for control by the RNDC program, so that individual zones can be refreshed without needing to do a full BIND restart.
RNDC appears to be setup properly already, so you probably do not need to use this form.
Are you sure you want to create the RNDC configuration file /etc/bind/rndc.conf, and enable control by RNDC in your BIND configuration?
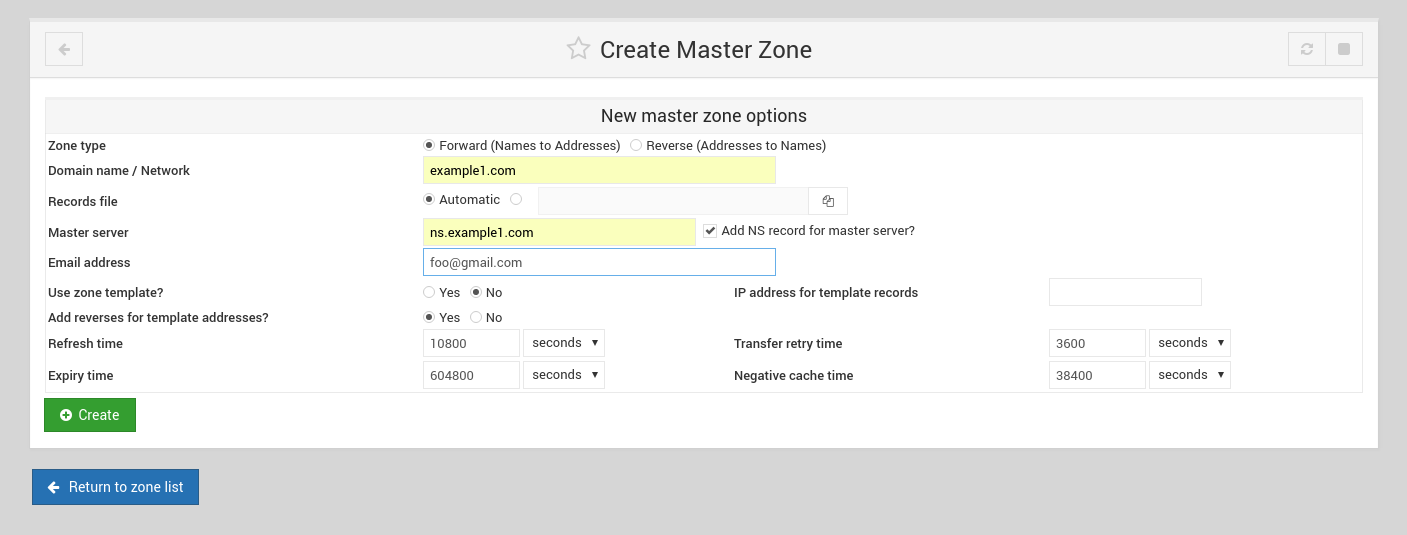
创建 forward zone
设置 domain 和 DNS 主服务器, 假设是 example1.com 和 ns.example1.com, 首先 create master zone :
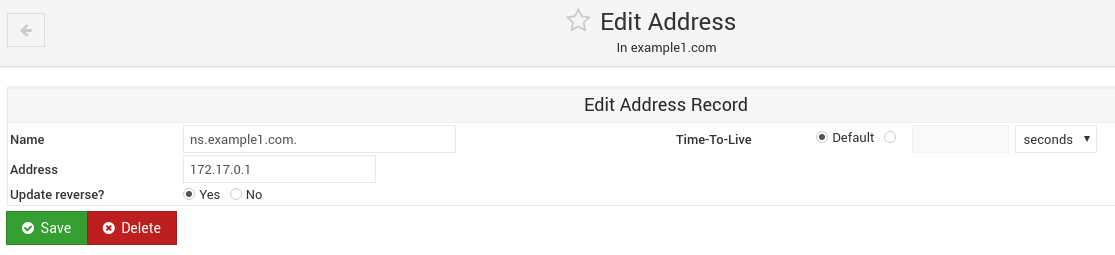
接着在继续 zone 中为 ns.example1.com 配置映射 (点击 Address 图标进入).
接着我们再增加一条记录 test.example1.com. IN A 192.168.0.200 作为测试.
然后点击 apply 按钮. (注意, 这个经常操作经常被忘记)
测试
host test.example1.com 172.17.0.1
想要看详细的, 可以使用
-v参数, 比如host -v test.example1.com 172.17.0.1
$ host test.example1.com 172.17.0.1 |
如上可知, 域名解析成功.
Webmin 的 DNS 还有许多实用的功能, 将不作赘述, 这里只是记录一下 docker 下部署 DNS 服务.
参考
http://www.damagehead.com/blog/2015/04/28/deploying-a-dns-server-using-docker/
https://github.com/sameersbn/docker-bind